

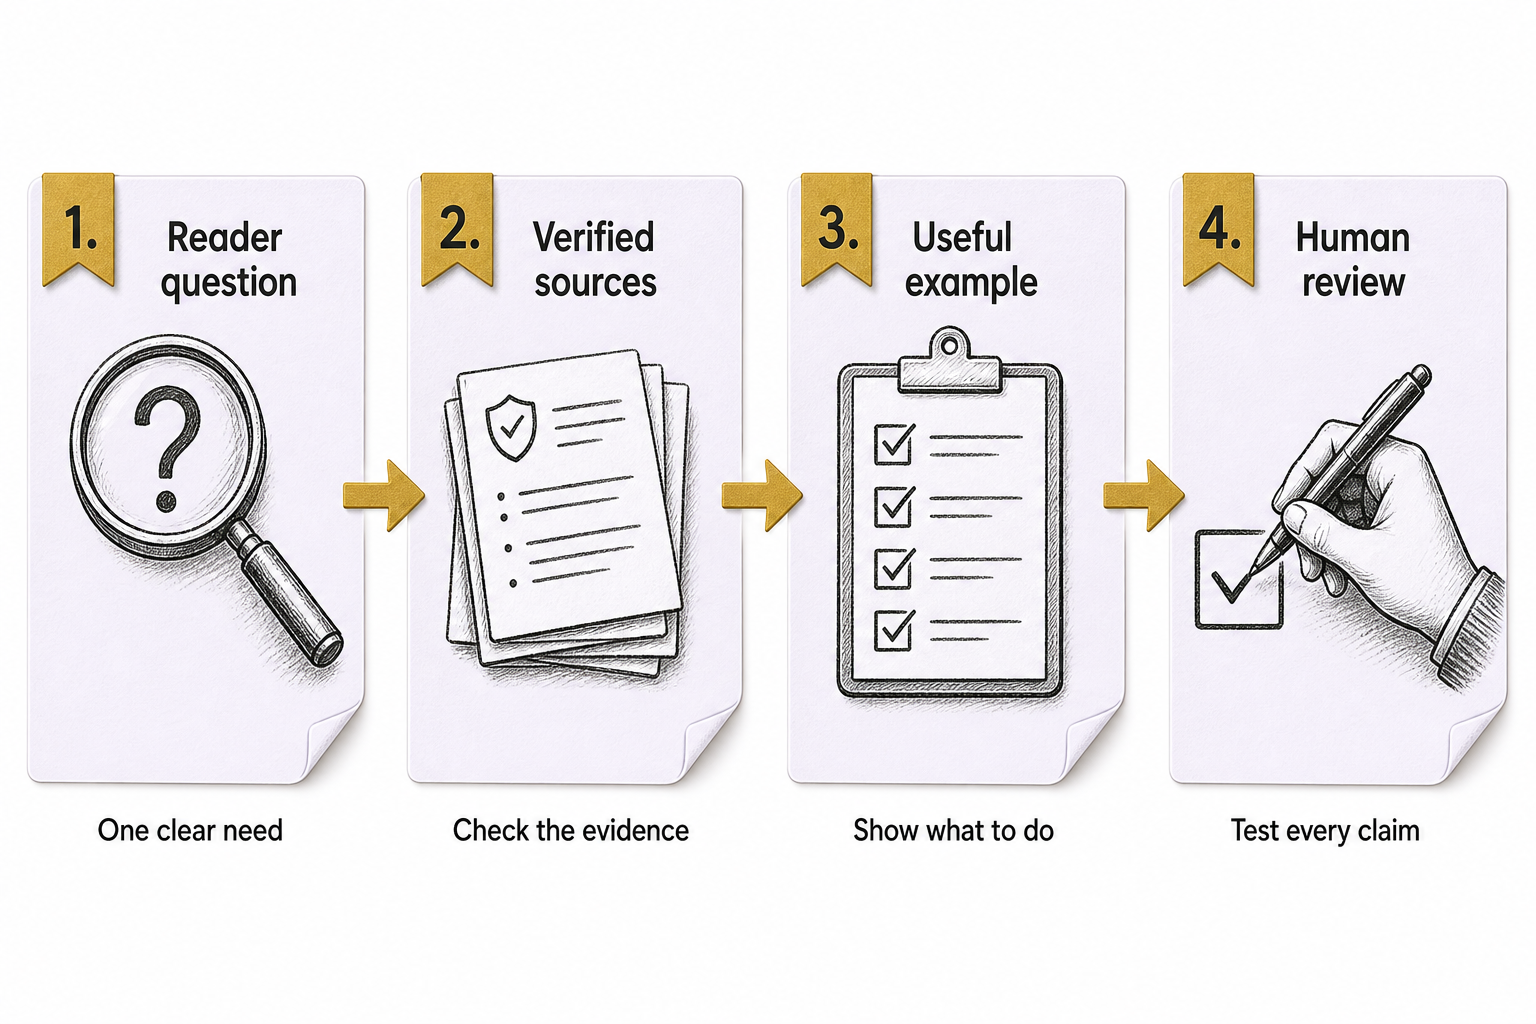
Start a business blog post with a question you can answer well. Not “What can we publish this week?” but “What does a customer need to understand before making this decision?”
That shift gives the article a job. The following workflow turns the question into a publishable piece without letting AI-generated fluency outrun the facts.
1. Write a short brief
Name the reader, the question, the answer you expect to explain and the useful next step. Choose a primary search phrase that naturally describes the topic, plus a few related terms. Do not force all of them into every section.
List the required subquestions. For a hypothetical post about testing a contact form, those might include delivery, required fields, errors, mobile use and tracking. Leave unrelated website design advice for another guide.
2. Gather sources and practical detail
Use current primary documentation for platform instructions and verified business knowledge for your own process. Record the source URL, what it supports and when you checked it.
Add an example or a tool the reader can use. If the example is hypothetical, label it. If it describes real work, verify the details and permissions. Google’s content-quality guidance emphasizes useful original value rather than a summary that adds little.
3. Outline the answer before drafting
Arrange the sections in the order someone needs them. Begin with the answer, explain important conditions, walk through the method and show how to check the result. Include a limitation where it affects the decision.
An AI assistant can compare the outline with your brief and flag missing questions. Ask it to stay within supplied sources and to mark uncertainty. Do not ask it to manufacture examples of your success.
4. Draft for a person doing the task
Use short paragraphs and plain verbs. Define technical terms in context. Replace general advice with an action: instead of “ensure optimal performance,” tell the reader which page to test and what result to inspect.
For the form example, explain that a successful screen message does not prove delivery to the inbox or CRM. The test must follow the submission to its destination. That detail helps someone avoid a real mistake.
5. Write several headlines
Create at least five options after the body is clear. Try different angles—task, question, mistake, checklist or outcome—without changing the promise beyond what the article delivers.
Choose the title that best tells the intended reader what they will get. Check the title tag, main heading and social description for consistency. A date belongs only when it is relevant and maintained.
6. Verify facts and links
Open each cited source. Confirm it supports the sentence beside it and still describes the current product. Check every internal link against an existing destination. Do not let an assistant invent plausible slugs.
Review all names, numbers and claims. Remove unsupported superlatives and guaranteed outcomes. If a feature depends on account type or region, say so.
7. Review the published layout before release
Inspect the real preview on mobile and desktop. Check heading order, image crops, captions, link visibility and reading width. Make sure a table or code sample does not break the narrow layout.
Use accurate authorship and dates. Article structured data should reflect the page’s real information; it is not a license to invent credentials or promise enhanced search presentation.
8. Maintain the answer
Keep a record of the article’s purpose, sources and likely update triggers. Review reader questions and relevant search data. If the post leaves an important question unresolved, fix it rather than extending the introduction.
A useful blog post earns its place by helping someone. Talk with Eastmoor Digital about building that standard into your content process.
Sources & further reading
Primary references checked for this refresh. Availability and platform behavior may change.
- Google: Helpful, reliable contentChecked 2026-08-31
- Google: Article structured dataChecked 2026-08-31